 Midmo Lights
How to Store Solar Lights During Winter?
How to store solar lights during winter is a practical question for anyone facing freezing temperatures, snow, and shorter daylight hours. Outdoor lights may look durable, but moisture can enter small seams, while weak sunlight leaves batteries poorly charged. A careful storage routine helps protect the panels, housing, wiring, and rechargeable cells.
In my experience, the biggest mistake is storing lights while they are still damp. Wipe each unit with a soft cloth, remove leaves from the panel, and let everything dry completely indoors. Check the manufacturer’s instructions before removing batteries. Some models use nickel-metal hydride cells, while others contain lithium batteries with different storage requirements. Do not assume every solar light should be handled the same way.
A dry box matters. Choose a cool, dry cupboard away from heaters, windows, and leaking pipes. Wrap fragile panels separately, but avoid sealing slightly damp items in plastic. If the manual recommends periodic charging, follow that guidance rather than relying on memory. I once ignored a small crack around a light’s battery cover, and winter moisture finished the damage. That oversight was avoidable.
This guide explains how to clean, inspect, disconnect, pack, and check solar lights before spring. It also addresses outdoor storage when indoor space is limited. Conditions vary by climate and product design, so reliable advice should begin with the product manual. A little doubt is useful here. Even well-maintained lights can lose capacity, corrode, or fail after harsh weather.
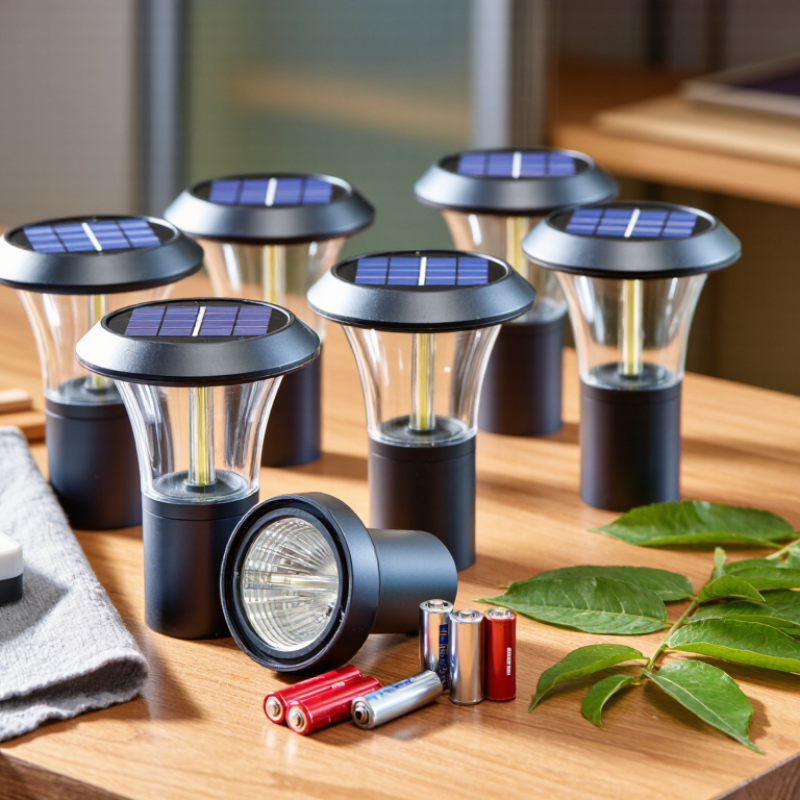
Identify Battery Type and Follow Its 40–60% Storage-Charge Range
How to Store Solar Lights During Winter?
Before storing solar lights, identify the battery type. Most models use rechargeable NiMH or lithium-ion batteries, but some contain replaceable alkaline cells. Rechargeable batteries should usually rest at about 40–60% charge during winter storage. This range reduces stress during long periods without use. Check the battery label and product instructions, because chemistry and storage limits can differ.
Remove the batteries when possible. Clean the light housing with a dry cloth, then let every part dry completely. A damp compartment can cause corrosion when temperatures fall. Store the lights indoors in a cool, dry cabinet, away from heaters and direct sunlight. Avoid charging lithium-ion batteries below freezing. I once stored a light in a cold shed and ignored condensation; the battery worked poorly afterward. That mistake changed my routine.
Tips: Mark the storage date on a small label. Check the charge every two or three months. If it falls below 40%, recharge it gently to around 50%. Do not leave alkaline batteries inside the unit, because leakage can damage contacts. Keep batteries away from loose metal objects. A sealed plastic box helps, although ventilation still matters. If the battery looks swollen, cracked, or unusually warm, stop using it and follow local battery-recycling guidance. Manufacturer instructions should override general advice.
| Battery Type | How to Identify It | Recommended Storage Charge | Winter Storage Guidance | Maintenance During Storage | Important Precautions |
|---|---|---|---|---|---|
| Lithium-ion (Li-ion) | The label may state “Li-ion” or show a nominal voltage near 3.6–3.7 V per cell. | Approximately 40–60% | Remove the battery if the design allows it. Store it in a cool, dry place, ideally above 0°C (32°F), and away from direct sunlight. | Check the charge level every 2–3 months. Recharge only with the correct charger if the level becomes very low. | Do not store a damaged, swollen, leaking, or unusually hot battery. Do not charge it while frozen or visibly damaged. |
| Nickel-metal hydride (NiMH) | The battery label commonly states “NiMH,” often with a nominal voltage of 1.2 V per cell. It is common in rechargeable solar lights. | Approximately 40–60% | Remove the battery and keep it in a cool, dry indoor location. Avoid damp sheds and locations exposed to freezing temperatures. | Check the charge every 2–3 months. A brief recharge may be needed because NiMH batteries gradually self-discharge. | Use a charger designed for NiMH batteries. Do not mix old and new cells or different capacities in the same light. |
| Nickel-cadmium (NiCd) | The label may state “NiCd” or “Ni-Cd,” usually with a nominal voltage of 1.2 V per cell. | Approximately 40–60% | Store the battery removed from the light in a cool, dry place. Keep the contacts clean and protected from moisture. | Inspect every 2–3 months and recharge with a compatible NiCd charger when necessary. | NiCd batteries contain cadmium and should be recycled through an approved battery-recycling service rather than placed in household waste. |
| Sealed lead-acid (SLA/AGM) | The label may state “SLA,” “AGM,” or “lead-acid.” These batteries are heavier and often larger than rechargeable cells. | Store fully charged; do not use the 40–60% range | Keep it in a cool, dry, ventilated location. Protect it from freezing, because a partially discharged lead-acid battery can freeze more easily. | Measure or check the charge about monthly and recharge promptly when needed. Use a compatible float or maintenance charger if specified. | Prevent short circuits, keep terminals clean, and follow the charger’s safety instructions. Do not open or puncture the sealed case. |
| Alkaline or other primary battery | The label may state “alkaline,” “primary,” or “non-rechargeable.” It will not be marked as a rechargeable battery. | Do not charge; remove before storage | Remove the battery from the solar light and store it in a cool, dry place, or recycle it if it is old or corroded. | No charging maintenance is required. Inspect for leakage before reinstalling it in spring. | Never attempt to recharge a non-rechargeable battery. Dispose of leaking or expired batteries according to local regulations. |
FAQS
Keep rechargeable batteries near 40–60% charge during long storage. This range reduces stress. Check the battery label and product instructions first.
Remove them when the design allows it. Remove alkaline cells to prevent leakage. Leaked fluid can damage metal contacts.
Choose a cool, dry indoor cabinet. Keep lights away from heaters and direct sunlight. Avoid damp sheds.
Wipe the housing with a dry cloth. Let every component dry completely before storage. Moisture can cause corrosion.
Check them every two or three months. If charge falls below 40%, recharge gently to about 50%. Mark the storage date on a small label.
Avoid charging them below freezing. Move them indoors first. Follow the product instructions when temperatures are uncertain.
Use a soft, damp cloth. Remove dust, salt film, bird residue, and dried leaves. Avoid abrasive pads and strong solvents.
Many panels use 1,000 W/m² as a laboratory reference. Winter sunlight may measure less. Record the time, weather, and meter reading.
Clean the panel and inspect scratches or corrosion. Retest near solar noon. A bright afternoon can still provide weak measured sunlight.
Stop using it immediately. Keep it away from loose metal objects. Follow local battery-recycling guidance. Do not ignore unusual warmth.
Conclusion
How to store solar lights during winter begins with checking the battery type and preparing it for a safe period of inactivity. Rechargeable lithium, NiMH, and other battery chemistries may have different requirements, but a general storage target is about 40–60% charge unless the manufacturer specifies otherwise. Remove the batteries when possible and keep them in a dry location above 0°C to reduce the risk of capacity loss. Before storing the lights, clean the solar panels, remove dirt from the fixtures, and inspect the wiring and seals. Also verify the panel’s rated solar irradiance, commonly referenced at 1,000 W/m², so performance expectations remain realistic.
Protect each fixture according to its IEC 60529 IP rating, since water and dust resistance may not be sufficient for prolonged indoor storage in damp areas. Place the lights in a cool, dry, protected space, avoiding extreme heat, freezing conditions, and direct sunlight. During winter, recharge and test them every two to three months. Check battery condition, panel cleanliness, and light output before returning the fixtures to outdoor use.
